
Move over the image to inspect details, or click to enlargeTap the image to inspect details
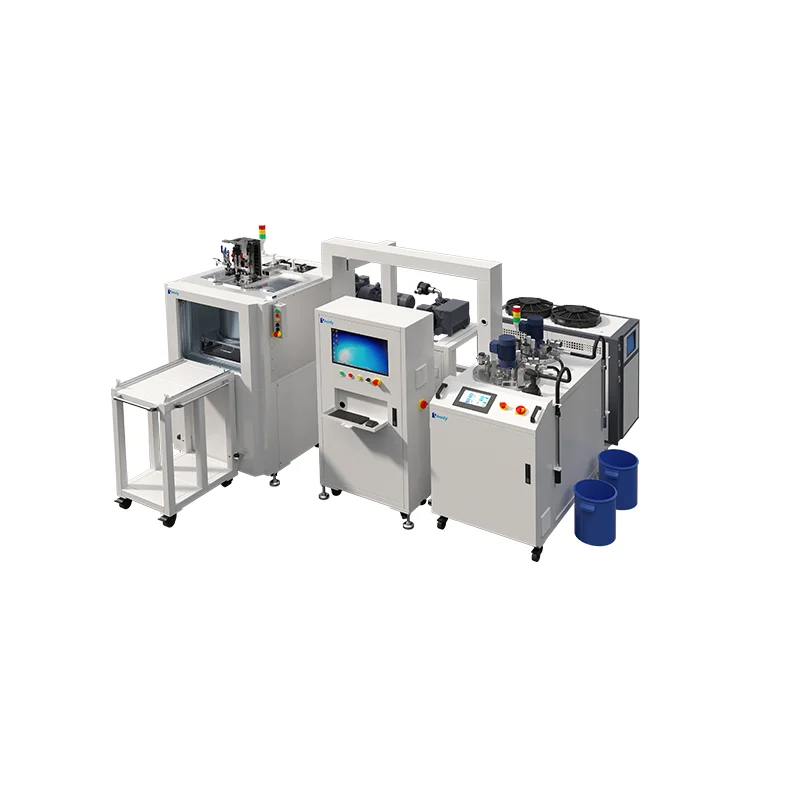
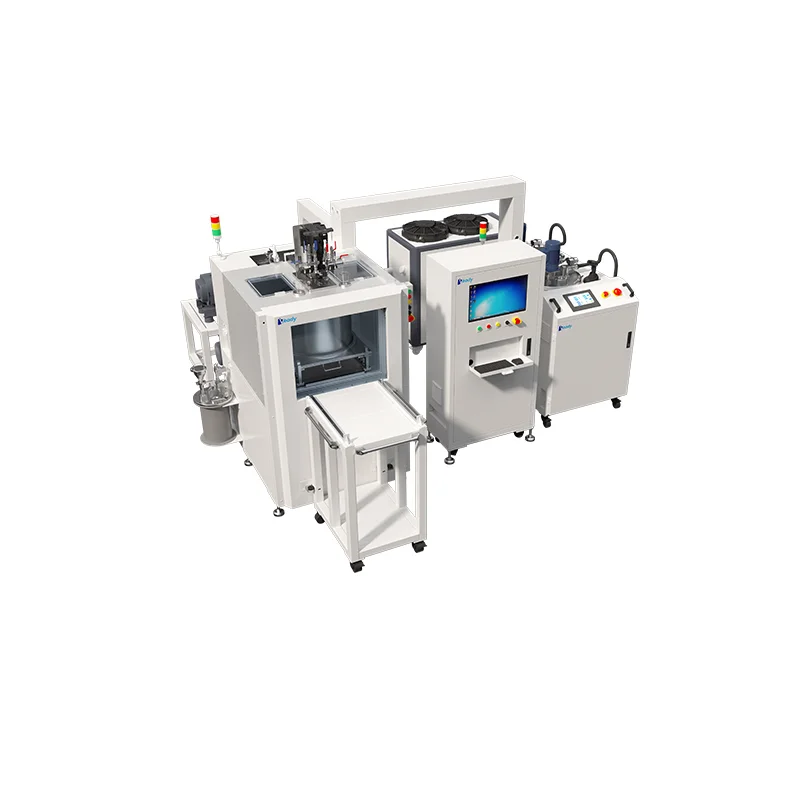
Traction Motor Vacuum Potting Machine
Vacuum potting equipment for traction-motor winding and cavity encapsulation. Discuss the resin, motor geometry and required production sequence with Veady.
Explore this part of the adhesive process
Product Overview
The traction motor vacuum potting machine combines two things that are usually separate: a vacuum chamber and a metered dispensing head. The motor sits in a fixture under vacuum while a precise shot of resin is delivered, so the adhesive is drawn into the winding and cavity instead of bridging over them. Buyers are usually motor manufacturers, contract assembly plants, and rewind or remanufacturing shops that need the same encapsulation result on every unit. In daily use, an operator loads a fixture, starts the cycle, and unloads after the chamber vents; evacuation, dispense, and hold run on their own. Each unit is built to order by a dispensing machine manufacturer that also supplies the material preparation and curing equipment around it.
Traction Motor Applications
- EV drive motor assembly — winding and slot encapsulation on a vacuum potting machine, where resin has to fill the slot gaps and tie the end windings without leaving the voids that surface later in an insulation test.
- E-axle and integrated drive units — potting around busbars, connectors, and sensor pockets, cavities that are awkward to fill from above and where dispensing under vacuum does the real work.
- Industrial and commercial traction motors — forklift, AGV, hoist, and conveyor motors potted for moisture, dust, and vibration resistance in rough duty cycles.
- Housing, end-cap, and terminal sealing — filling the volume around the lamination stack and terminal block so the finished motor holds up in insulation and sealing checks.
- Rewind, prototype, and repair work — potting rewound or prototype motors in low volume without setting up a full automated line.
Vacuum Potting Cycle
- Prepare the adhesive — proportion and mix a two-component resin to your supplier's ratio, or check that a one-component adhesive has been stored and degassed as required.
- Load and fixture the motor — set the part with the potting axis up, mask the shaft and bearing seats, and position leads clear of the fill path.
- Close the chamber and pull vacuum — air and moisture are drawn out of the winding and cavity before any resin enters.
- Dispense under vacuum — the automated dispensing system meters the shot while the part is still under vacuum, so adhesive fills from the bottom up.
- Hold vacuum after the shot — a short dwell lets the last trapped air escape before the resin starts to gel.
- Return to atmosphere and unload — the chamber vents, the fixture releases, and the potted motor moves to its cure station.
- Record the cycle — vacuum level, shot weight, and time are logged against the batch.
Adhesive & Material Considerations
Motor encapsulation is an adhesive decision as much as a machine decision. Epoxy systems suit rigid, thermally conductive fills, polyurethane brings flexibility under thermal cycling, and silicone is chosen where a softer, heat-tolerant fill is wanted. Filled adhesives move into slot gaps slowly, so shot volume, dispense pressure, and hold time are set around the material's viscosity rather than a default recipe. Pot life is the other constraint: mixed resin that sits too long in any industrial glue dispenser line will thicken before the cycle finishes, which is why the wetted path and the end-of-shift flush are matched to your resin. Share the adhesive datasheet and we will confirm the metering and material supply arrangement.
Sizing & Fixture Planning
- Measure the motor, not just the drawing sheet — overall diameter, height including the terminal block, and any leads that must stay clear set the chamber envelope.
- Single-part or multi-cavity fixtures — one motor per cycle keeps changeover simple; a multi-cavity fixture lifts output when volumes are steady and the parts are small.
- Fixture design details — potting axis, sealing points, and masking for shaft, bearings, and machined faces decide how clean the part comes off the fixture.
- Weight and handling — heavy motors need lifting support at the load and unload positions, so plan that with the fixture rather than after installation.
- Changeover across motor models — decide how many variants will run on the same machine and whether one fixture covers them or each model needs its own.
Quality & Void Control
Void content decides whether a potted traction motor passes its insulation and thermal checks, so quality work starts before the first production part. A first-article run on your own motors, cured and cross-sectioned, shows how the resin has filled the slot gaps and whether pockets remain near the end windings. Routine checks then normally cover shot weight, vacuum level, and hold time against the batch record, plus a cure check before the part moves downstream. Sampling frequency and acceptance criteria are agreed with your quality team and written into the commissioning checklist, so the machine and the vacuum potting equipment around it are signed off against the same standard your customers audit you to.
Technical Support & Model Matching
As the manufacturer, Suzhou Veady Precision Glue Dispensing Systems Co., Ltd supports your project from selection through startup. Share your adhesive, substrate, throughput and accuracy target, and our engineers help match the right dispensing, potting, vacuum potting or material preparation configuration. We also guide installation and commissioning, process parameter setup, and fault troubleshooting, and provide factory-direct service and bulk supply for long-term production.
FAQ
Q1 Which parts of a traction motor can be potted on this machine?
Stators and end windings, terminal blocks, busbar pockets, housing cavities, and complete motor assemblies can all be encapsulated, as long as the part fits the fixture and chamber envelope. The vacuum potting machine is configured around the cavity you are filling, so send a drawing with the fill volume and the areas that must stay free of resin.
Q2 Which adhesives can we run on it?
Epoxy, polyurethane, and silicone systems are the usual choices, in one-component or two-component form. What matters is how your adhesive flows and cures, because those two things set the shot parameters and the wetted parts of the material path. The vacuum potting equipment is matched to your adhesive, so share the technical datasheet and we will confirm metering, mixing, and supply before the machine is built.
Q3 Can more than one motor be potted in a single cycle?
Yes. A single-cavity fixture keeps changeover simple for large motors or mixed production, while a multi-cavity fixture suits small motors running in steady volume. As a dispensing machine manufacturer, we size the chamber, fixture, and shot programme around your annual volume and the number of motor variants you plan to run.
Q4 Can the machine run in-line with our motor assembly line?
It can be installed as a stand-alone cell or as an in-line station, depending on how parts are fed and unloaded. For in-line operation, the automated dispensing system is set up to handshake with your conveyor and load/unload equipment, and the cycle is matched to your takt time. Share your line layout and part flow and we will confirm the loading arrangement.
Q5 How do you keep air out of the windings?
Voids come from three places: air already inside the winding and cavity, moisture held on the part, and air mixed into the adhesive. Pulling vacuum before and during dispense removes the first, clean and dry parts remove the second, and proper preparation or degassing of the adhesive removes the third. A short vacuum hold after the shot lets the last bubbles rise before the resin gels.
Q6 What routine maintenance does the machine need?
Like any industrial glue dispenser, it rewards a short end-of-shift routine: flush or purge the mixing and dispensing path, check for resin build-up around the valve seat, and confirm the chamber seal is clean and undamaged. Longer intervals cover vacuum pump checks, seal replacement, metering calibration, and a fixture inspection. Filled and fast-curing resins need tighter intervals than unfilled ones, so the schedule is set to your adhesive.
Technical specifications
Explore the product features above or contact Veady for application engineering.
Technical specifications for the listed model. For application engineering, share your adhesive datasheet, part drawing and production requirements.
More product views